You pull up on the scene of an auto crash; you have victims trapped, and the car is on its side. Immediately, you have to wrestle with the decisions regarding stabilization.
When it comes to Level I vehicles or passenger cars, I am a huge advocate of using stabilization to reduce hazards and increase efficient and safe extrications. Many fire departments face significant challenges in this arena because of a lack of resources and perhaps training.
Appropriate stabilization is one of the most overlooked applications on the scene of vehicle crash. To dig into this, we’ll break it down into primary and secondary stabilization and focus on a vehicle that come to rest on its side.
Primary stabilization involves quick points of contact or connections that provide low-side stability to the vehicle. This is usually accomplished initially with 4×4 dimensional timber or composite wedges and larger dimensional timber step chocks or composite chocks/wedges.
If the vehicle is on a plane that is significantly pitched or unstable (such as a steep hill, ravine or bridge), then a cable, rope or chain attachment to arrest any vehicle travel would also fall into this category.
Secondary stabilization involves additional stabilization to the high sides of the vehicle to achieve immobilization. This is best accomplished with struts that are tensioned or pressurized into place with ratchet straps or chains.
This should result in a vehicle that cannot be jostled or unintentionally moved during extrication. An effective secondary stabilization plan does not interfere with the extrication plan and allows for intentional lifting or repositioning of the vehicle as needed with minimal actions.
Now that we’ve established some foundation for this discussion we can delve into the specifics pertaining to side-oriented vehicles.
Primary stabilization
Almost all passenger vehicles have a natural lean towards the roof side. That’s because the roof profile is narrower than the body. It is also due to the resistance that the tires on the ground give to any shifting toward the undercarriage.
Attack the high-risk area of instability first. Place wedges or inverted step chocks on the roof between the ground and fender or quarter panel right at the A post and the rear post (B or C depending on number of posts or doors).
An additional wedge or step chock may be placed at the B or intermediate post. This results in cribbing placements that are away from the corners of the roof, which opens up the extrication zone.
Then, move to the undercarriage side of the vehicle. Place at least two additional wedges between the ground and the rocker panel. All of these contact points should be pressurized lightly into place.
Avoid driving these home with a heavy striking tool at this point because the load is extremely unstable and we don’t want to rock, topple, or shake the load and victims.
Hood as a kickstand
Avoid the front and rear bumpers for wedge or step chock placement as they are typically non-structural cosmetic components with no resistance at the corners.
Once all of these ground points are in place, transition back to the roof side and force the hood. Use a hand or hydraulic tool; do not attempt to access the interior at this point to get to a hood release.
Forcing the hood accomplishes two things. It usually provides access to the battery so that we can de-energize the car, and it functions as a weak but somewhat effective kickstand. An open hood creates an additional lateral point to the ground to help resist tipping forces towards the roof side.
All of this should be conducted with caution and rescuers should remain alert and disciplined about body position. Avoid getting on your knees or into a slow moving position that would prevent you from rapidly evacuating the area should the vehicle tip.
Secondary stabilization
Struts are key to attaining high-side stabilization. Limiting stabilization efforts to the low side only will never result in a well-stabilized vehicle.
It is important to know the struts’ load design — how much weight the strut can support at its various lengths. Struts get weaker as they get stroked out. Knowing the load design will help ensure that you can safely support the load.
In a lateral-stabilization sequence, we aren’t really supporting any vertical load. However, these incidents often result in a lifting sequence because of a partial ejection with head or arm entrapment on the low side of the vehicle. As soon as we lift the vehicle, the struts will assume vertical load.
Keep the strut at an appropriate angle — generally between 45 to 60 degrees to the vehicle. Angles wider than 45 degrees offer tremendous lateral support but become ineffective at supporting any vertical loading. Struts more upright than 60 degrees offer great vertical support, but are inadequate at resisting lateral forces and become very unstable.
Making the V
There are some basic rules when creating tension between the strut’s base plate and the anchor or vehicle.
Create a V with separate ratchet straps or chains where the base plate is the point of the V and the strut loosely bisects the straps. This prevents the base plate from being displaced laterally if it is hit or if the vehicle shifts.
Single-tensioning elements may be unavoidable depending on the type of strut you are using, but rescuers should understand the inherent danger of a single attachment point. Know the load design of these tensioning elements and ensure that it is appropriate and safe for professional rescue work.
Ensure that the equipment hooks and tensioning devices are rated for this type of work. Small tie down straps from a hardware store will not do the job. Rescuers should use at least 3,300-pound ratchet straps or grade 80 — 5/8-inch chain.
Never attach the tensioning elements to the portion of the vehicle that will be moving during a lift. And always try to attach to secure anchor points on the vehicle or to secure and intended anchor points on the base plates.
The triangle
Now that we’ve hit the basics on struts, let’s apply them. In most cases, three struts to the vehicle are optimal. We want to create a triangle from a bird’s-eye perspective, with each strut being a corner point of the triangle.
Since the roof side is still the more precarious side, take out the windshield and rear glass and place two struts on the roof side at the joints between the A post/fender and the C post/quarter panel. Place them at appropriate angles and orientation.
For correct orientation, avoid placing these perpendicular to the car. Have these struts bisecting the angles of the A post/fender and C post/quarter panel. This allows rescuers to place a tensioning element between the two base plates without potentially walking the base plates in and causing the heads of the struts to walk off of their capture points.
Make sure the heads have solid contact or capture points. Add secondary tensioning elements to each base plate by bringing the elements under the front and rear bumpers and attaching to a structural anchor. Hook or tow clusters are great tools to have to facilitate these attachments.
Good capture point
Vehicle bumpers are narrower than the body and allow just enough gap for ratchet straps to slide under as they’re tensioned. Lightly tension these struts into place.
Ideally, while this is taking place, an additional crew is tackling the floor or undercarriage side of the vehicle with a single midpoint strut. This strut should be thrown perpendicular to the vehicle at an appropriate angle and two tensioning elements should create a V towards the frame rails where they are attached.
This strut can be a little shorter than the roof-side struts. On a unibody or frame-and-chassis vehicle, the high-side frame rail will be lower than the roof-side capture points. Make sure a good capture point is established.
Lightly tension this strut. Take one last look at the vehicle, and then finish tensioning the struts until the heads are secure and the vehicle is immobilized. Do not over tension and accidentally lift the vehicle. This can have significant consequences.
This entire process should only take two to three minutes.
The victim drives the rescue action plan and we should always risk a lot to save a lot, but this application should be an appropriate and very necessary one on the vast majority of side-oriented extrications.


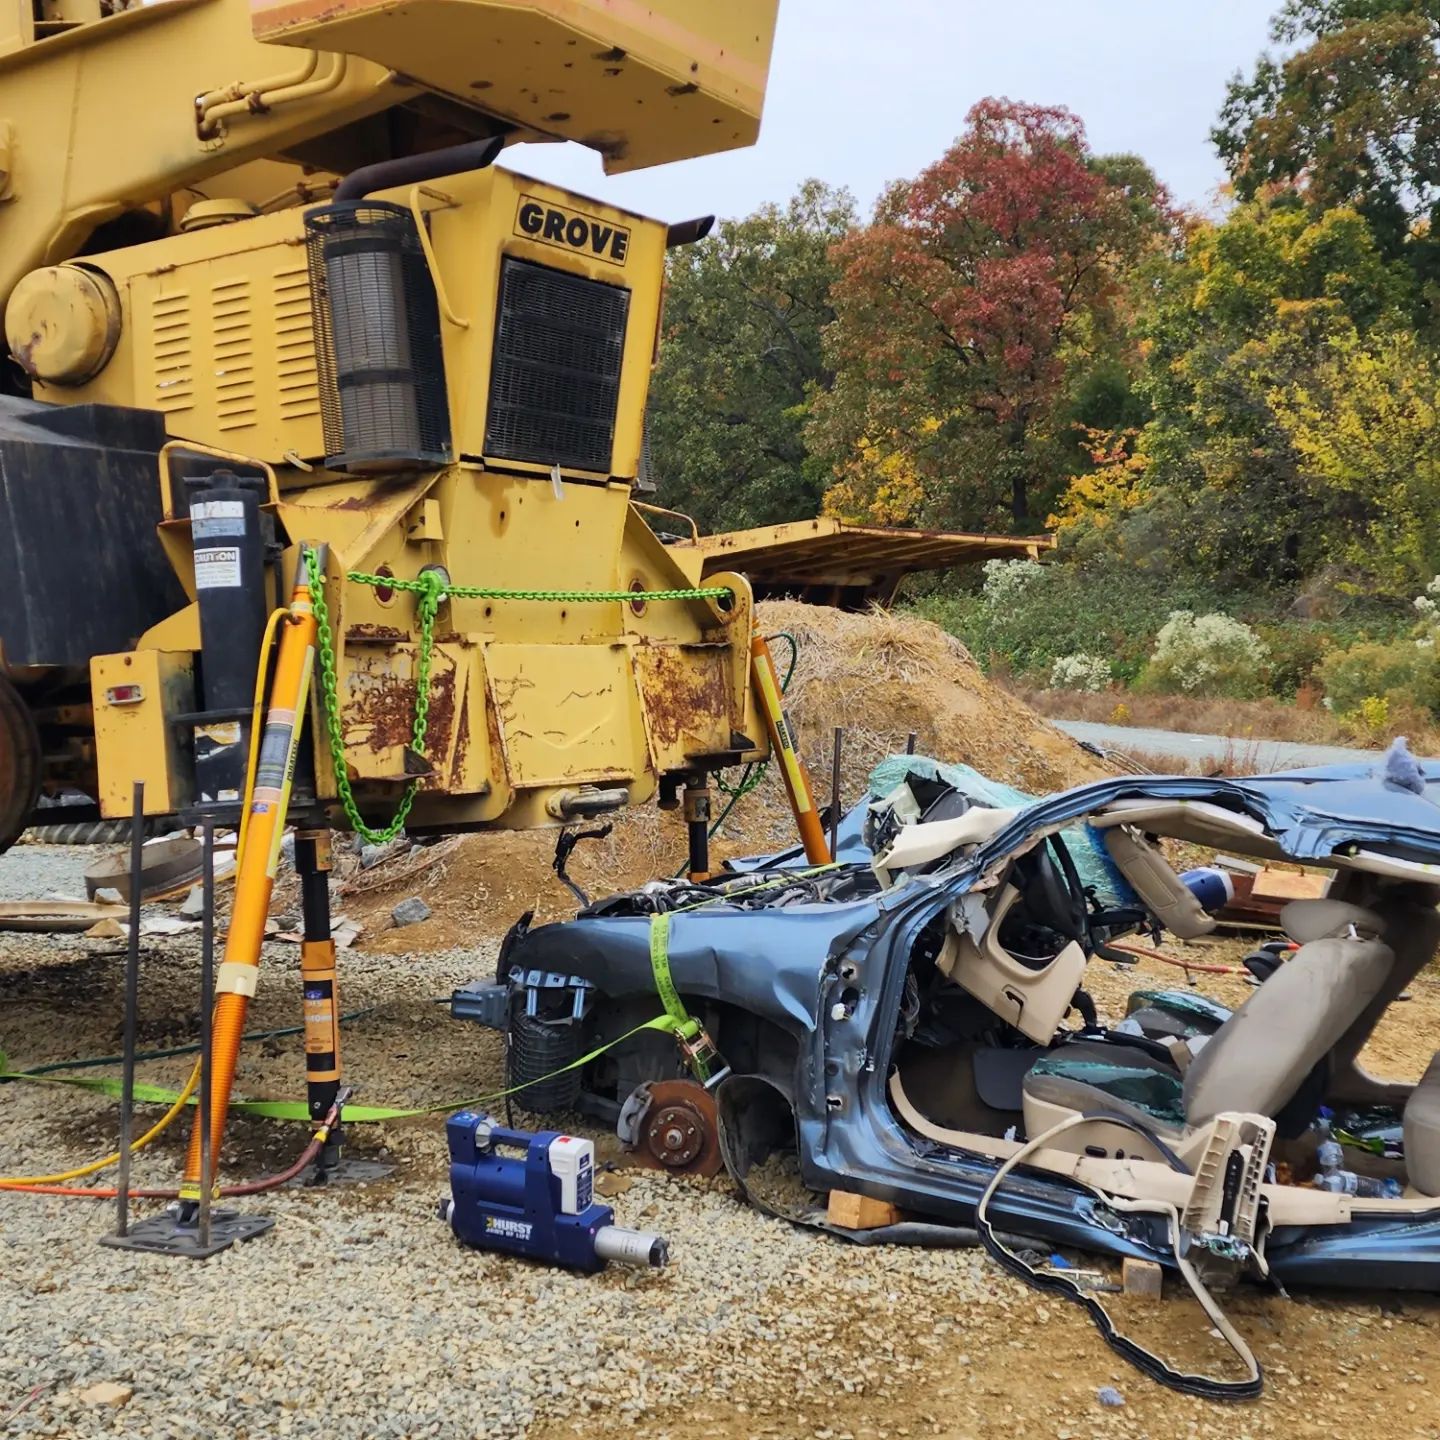
Heavy Stabilization & Lift Class
This weekend, Toranze Lee and Premier Extrication held their Heavy Stabilization and Lifting class taught. The class focused on advanced techniques using the Paratech equipment, eDraulic tools, grip hoists, vehicle stabilization methods, airbags for lifting, power tools, and the use of heavy wreckers for extrication.
")
")
")
")
")
")
")
")
")
")
")
")
")
")
")
")
Some of the departments that attended:
")
")
")
")
")
")
")
")
")
")
")
")
Training
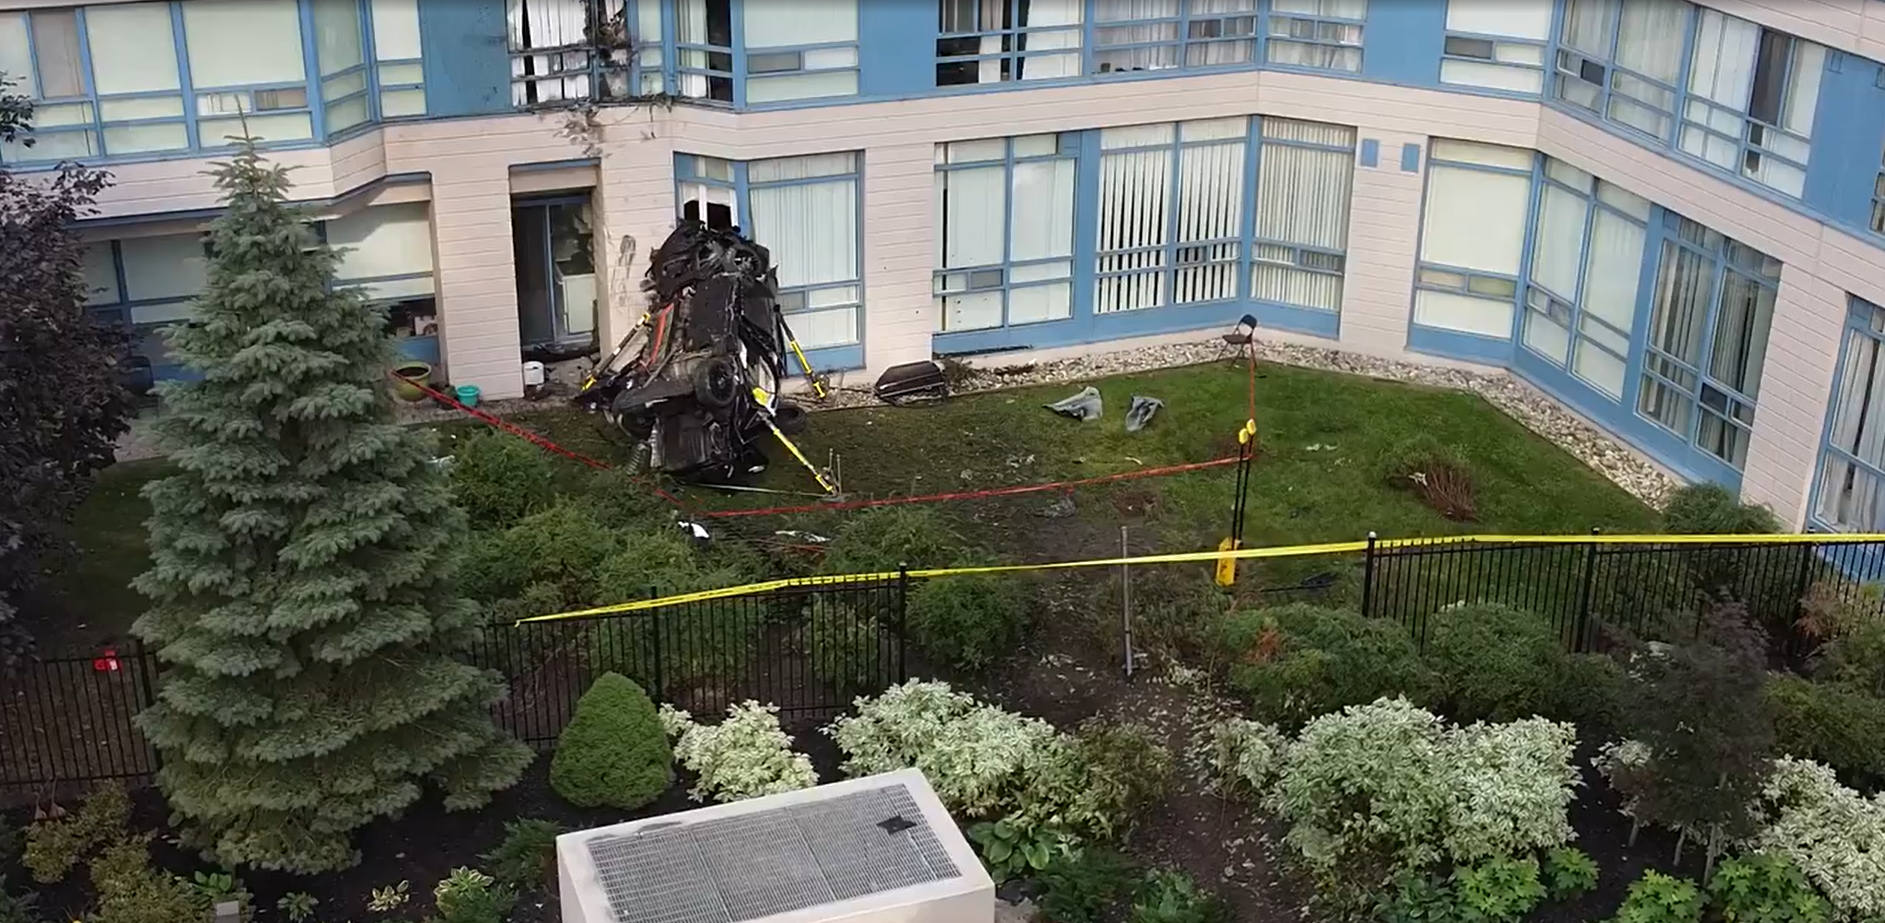
Car into an apartment building
In Mississauga, Canada, a vehicle crashed into a large residential building and the damage could have impacted up to 4 stories. Mississauga Fire and Emergency Services stated the vehicle hit the window on the building’s second floor. The driver was extricated and transported to the hospital.
")
")
")
")
")
Building Collapse
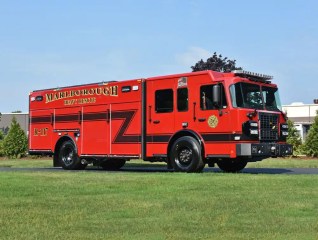
Houston Fire Department’s Trailer 11
Check out Houston Fire Department’s new Trailer 11 purchased from Metro Fire Apparatus Specialists, Inc. It’s packed for of Paratech equipment with room for more!

Houston Fire Department’s Trailer 11
Check out Houston Fire Department’s new Trailer 11 purchased from Metro Fire Apparatus Specialists, Inc. Check out the pictures below and make sure you follow the social media pages from Metro Fire Apparatus Specialists.
Overall Pictures
Compartments Pictures
Rear Pictures
